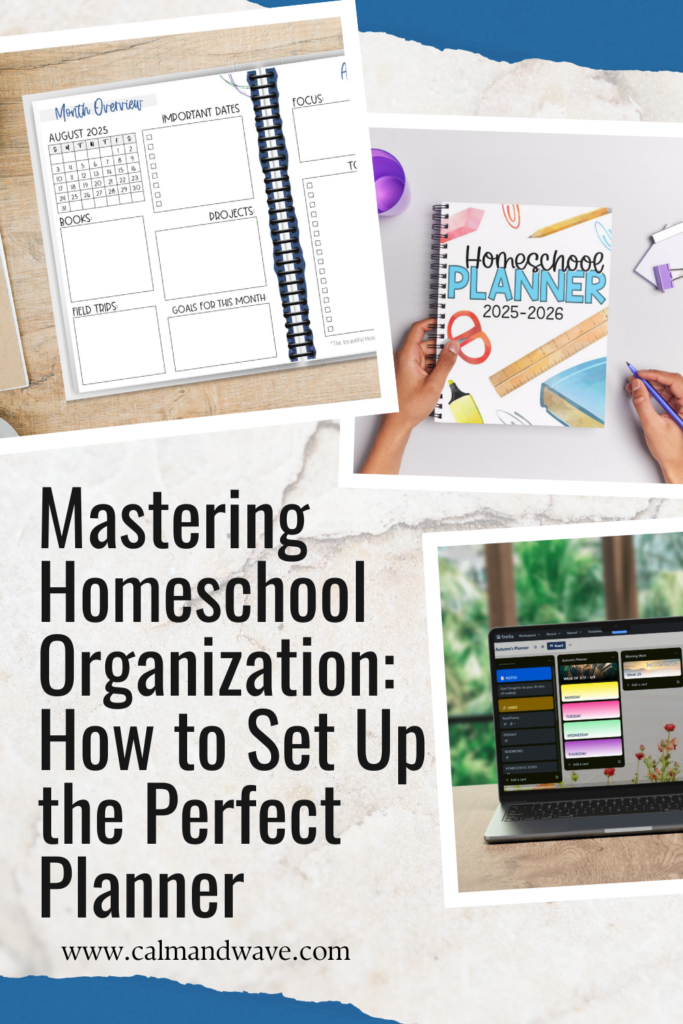
Mastering Homeschool Organization: How to Set Up the Perfect Planner
Homeschooling offers incredible flexibility and freedom, but it also comes with the challenge of staying organized. A well-thought-out planner can be your best friend, keeping lessons on track and ensuring progress for your students. Whether you're new to homeschooling or just looking for ways to improve your system, this guide will help you set up a homeschool planner that works for your unique teaching style and your students' needs. If you want to plan out subjects, check out this blog post.


Step 1: Choose the Right Planner
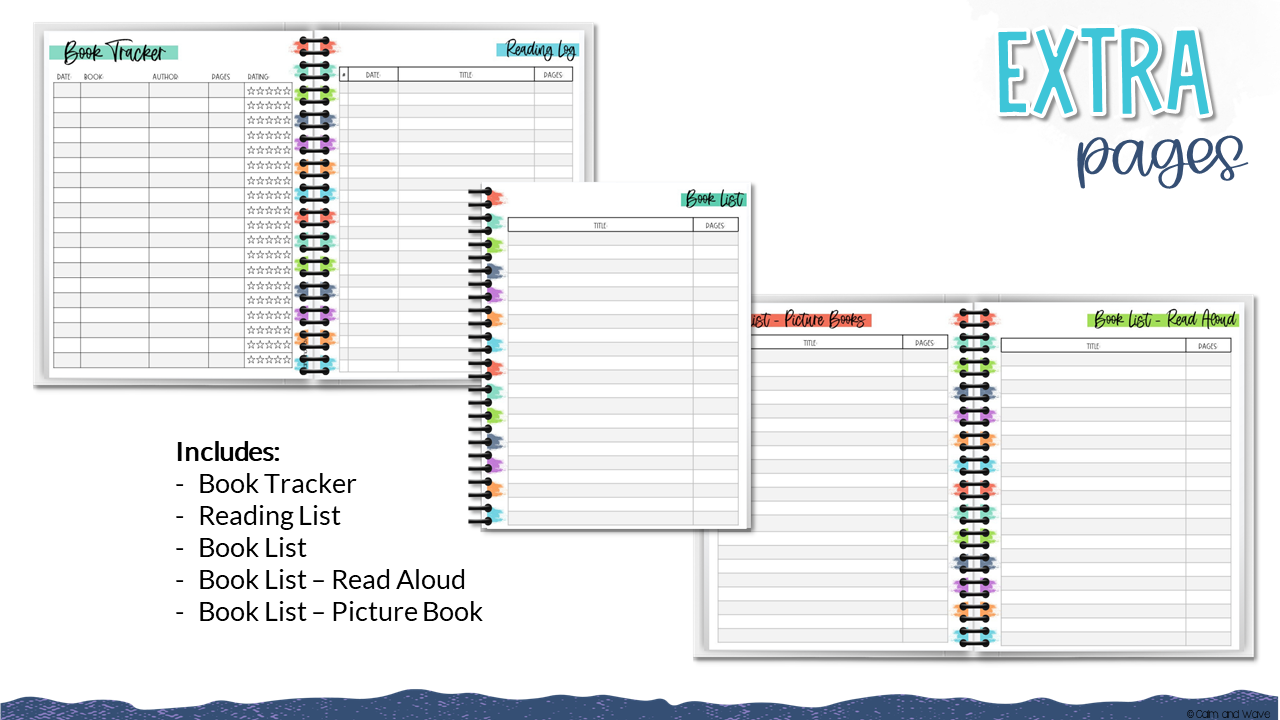
First things first, decide what type of planner suits you best. Do you prefer a paper planner, a digital app, or a mix of both?
- Paper Planners are a great choice if you enjoy writing things out and having tactile organization tools (plus, there's something satisfying about physically checking tasks off).
- Digital Planners or apps like Google Calendar, Notion, or Trello offer flexibility, easy schedule adjustments, and even reminders.
Pick one that feels intuitive and inspires you to stay consistent.
Step 2: Decide on Goals and Priorities
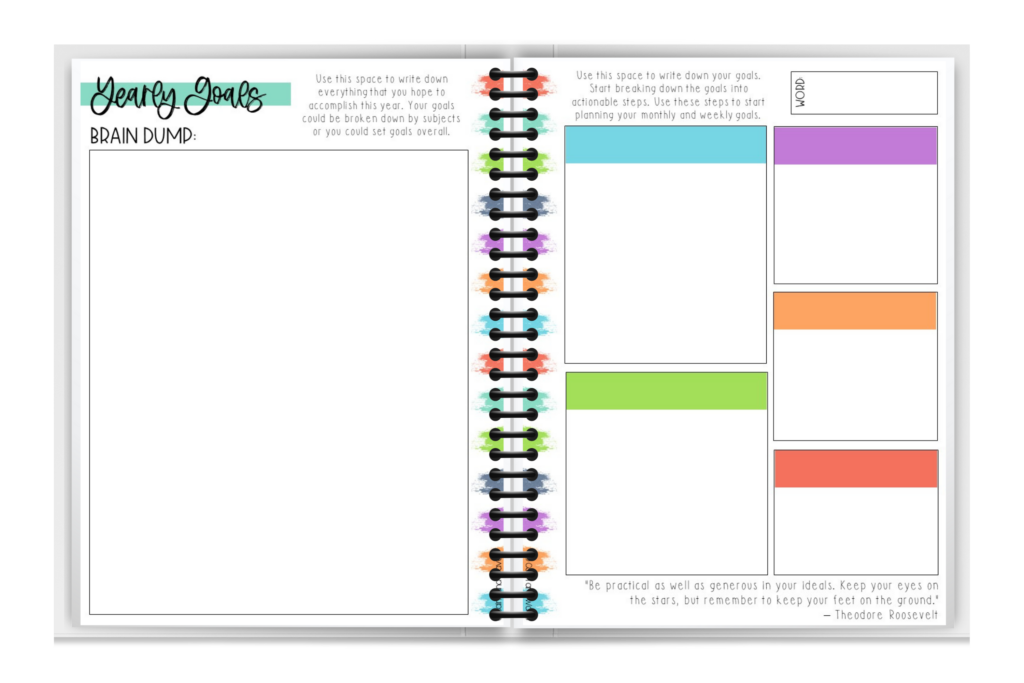
Take some time to outline your goals for the school year. Ask yourself these questions:
- What do I want my students to achieve academically and personally?
- How will I assess their progress throughout the year?
- What's the most critical aspect of our daily routine or curriculum?
Having clear goals will help you structure your planner wisely and stay focused on the bigger picture.
Step 3: Organize Subjects and Lessons
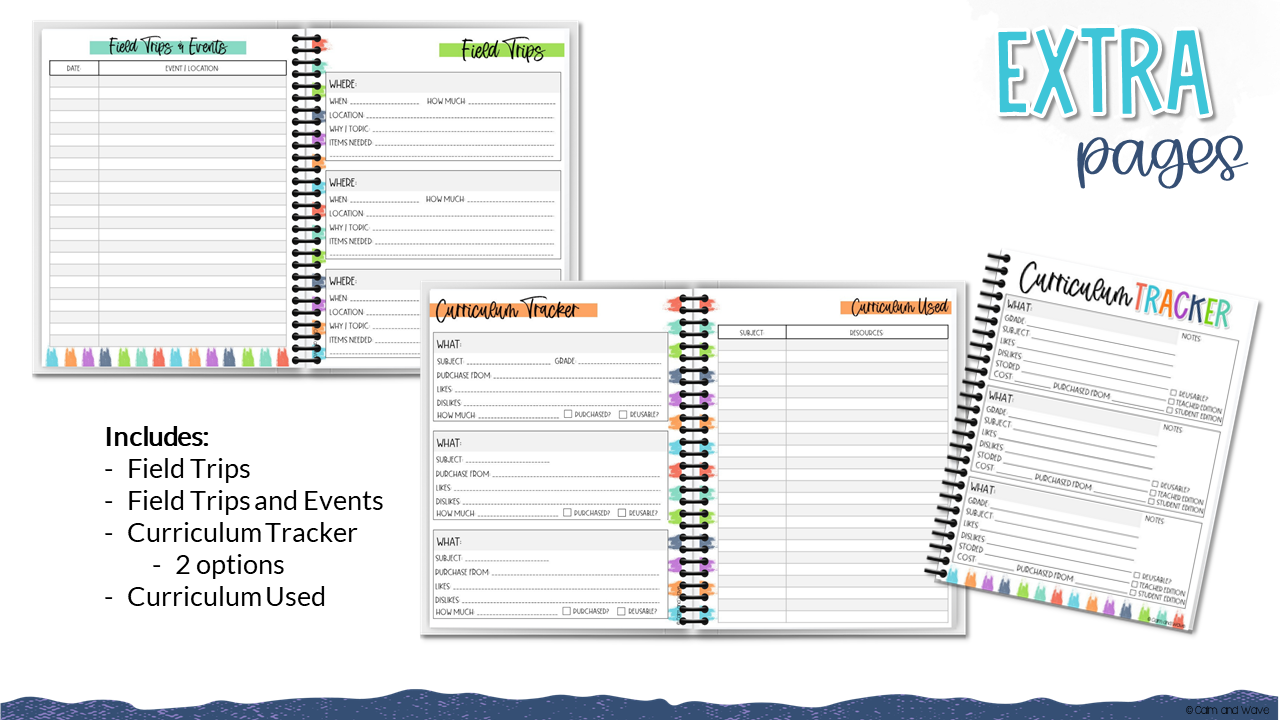
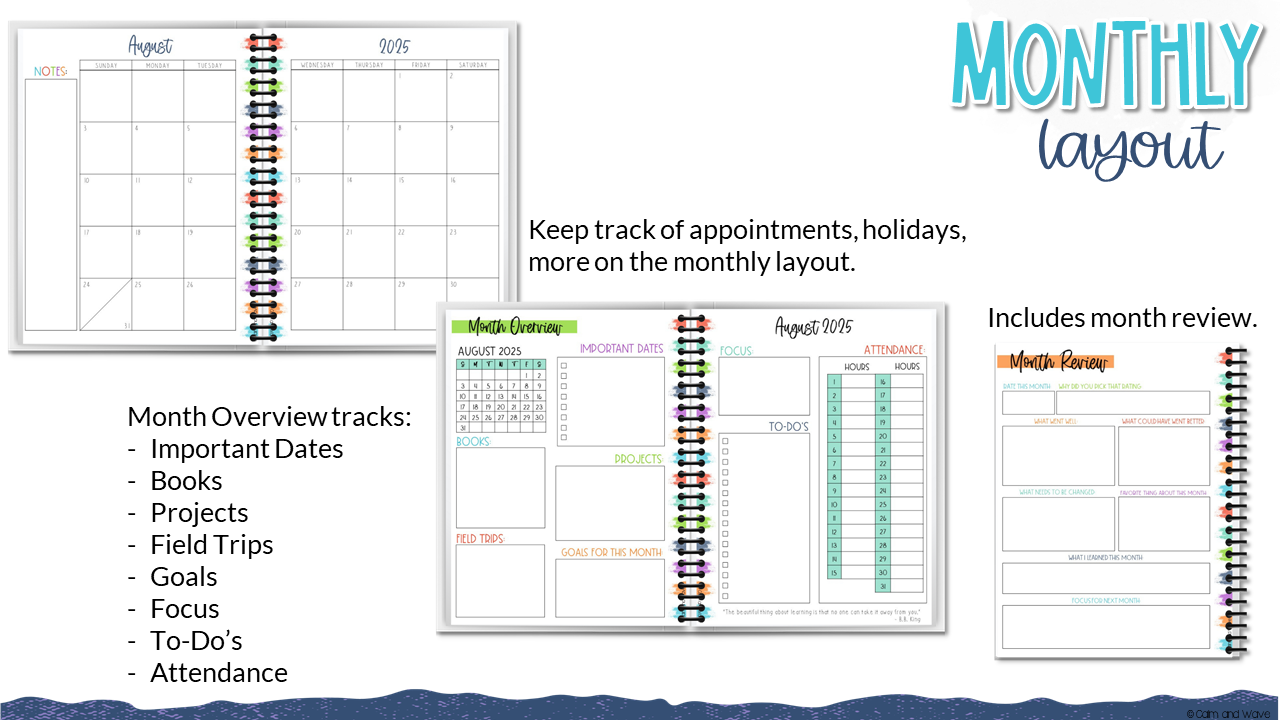
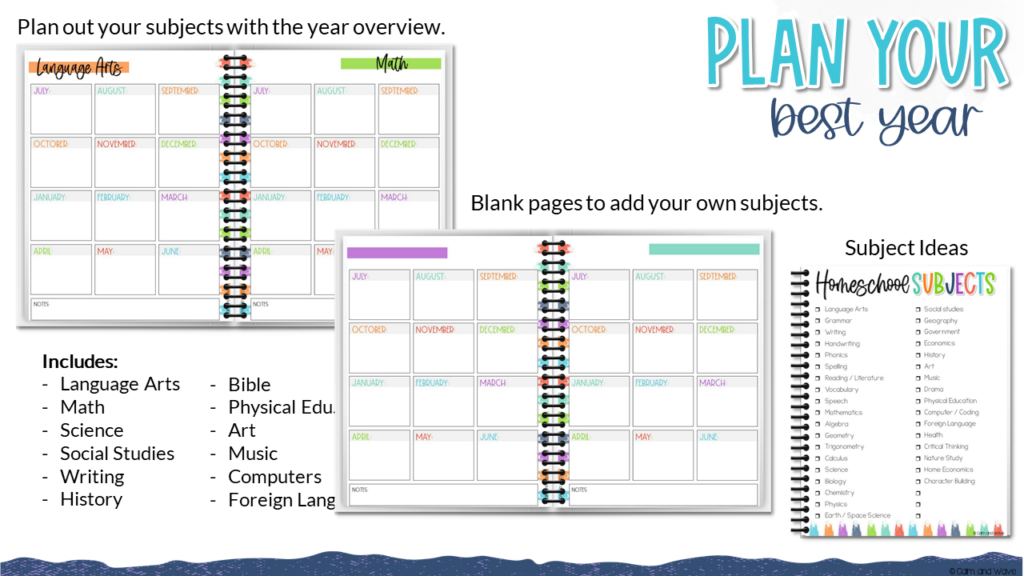
A homeschool planner should have dedicated space for each subject in your curriculum. This could look like dividing your planner into sections for math, science, reading, and other subjects.
Add these components under each subject:
- Lesson Plans: Break objectives into bite-sized chunks and outline activities for each day or week.
- Materials Needed: List resources, worksheets, or books beforehand so you're prepared.
- Time Estimates: Write down how long each lesson should take to help balance your day.
Color-coding by subject or child can help you stay organized if you're teaching multiple grade levels.
For more information on planning, check out this blog post.
Step 4: Create Weekly and Daily Schedules
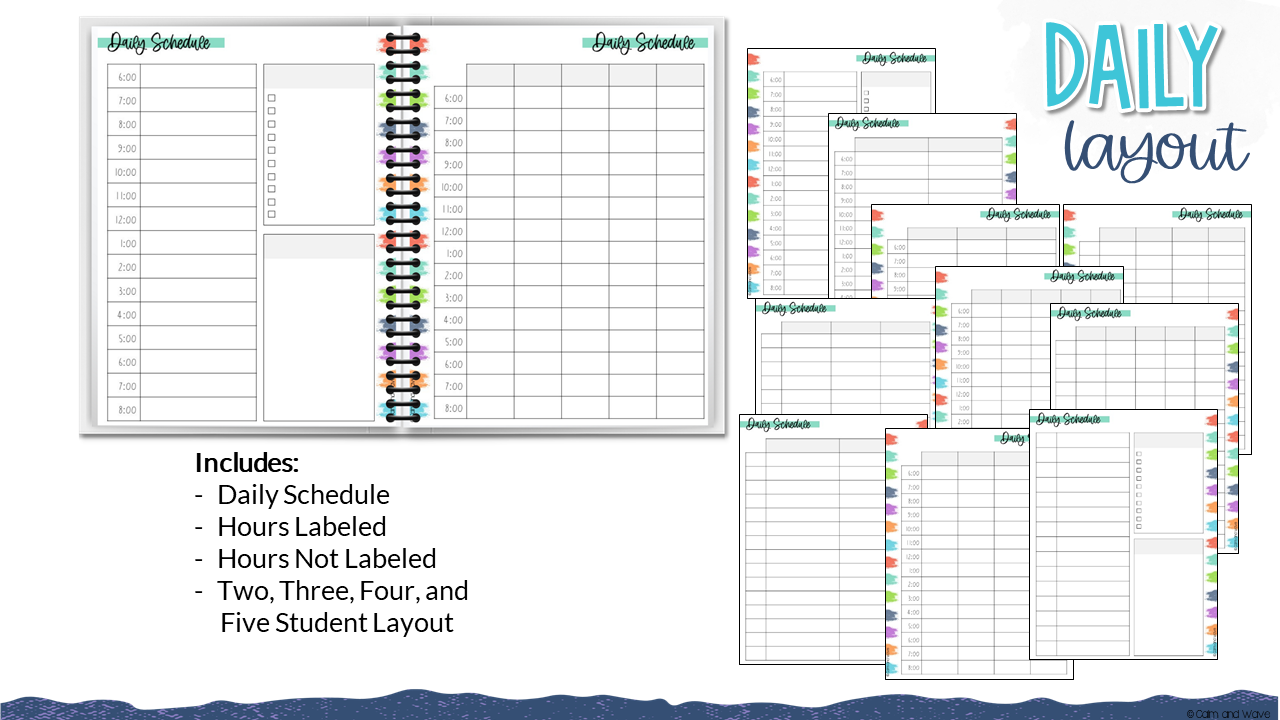
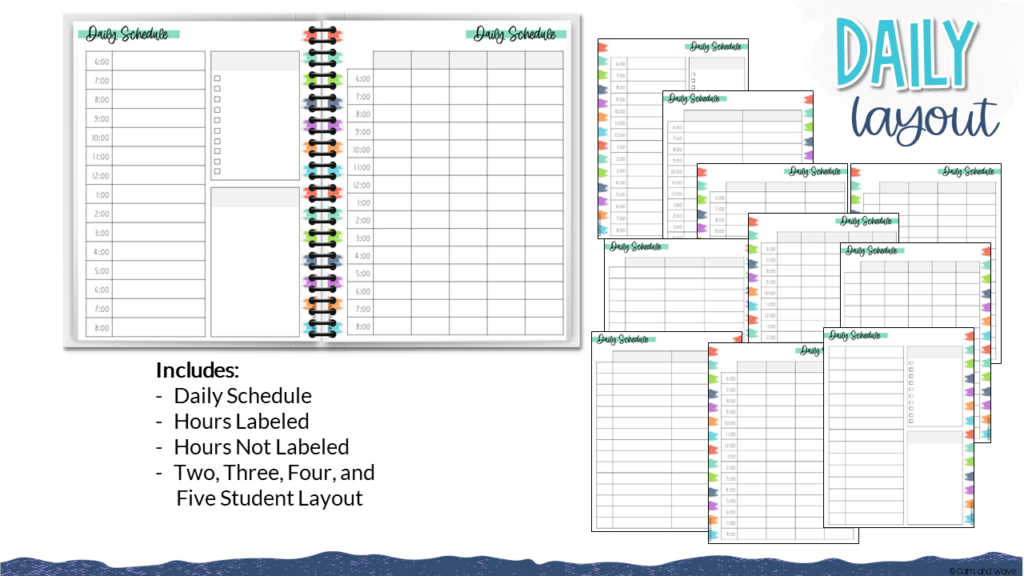
When planning lessons, it's essential to balance structure and flexibility. Create a weekly framework so you know what subjects to cover daily. Then, drill down into your daily routine. Here's an example of what this might look like:
- Morning
- 9:00 am – Math
- 9:45 am – Language Arts
- Midday
- 10:30 am – Science
- 11:15 am – Social Studies
- 12:00 pm – Lunch
- Afternoon
- 1:00 pm – Reading
- 2:30 pm – Extra Curricular & Wrap-Up
We followed a stricter schedule when we started homeschooling, completing each task in order. As my daughter has gotten older, I have given her more freedom to decide on the order in which she wants to complete her subjects. My middle is getting to the point where he can complete his lessons mostly alone, and we are also working towards more independence for him. Initially, we will complete the “hard” or “least liked” subjects. This follows the Eat That Frog! method of accomplishing tasks. (If you haven't read this book, I recommend it!) After tackling these tasks, we move on to the “easier” subjects, making the day smoother.
Leave generous margin time between lessons to account for breaks, interruptions, or additional questions your child might have.
Step 5: Track Progress
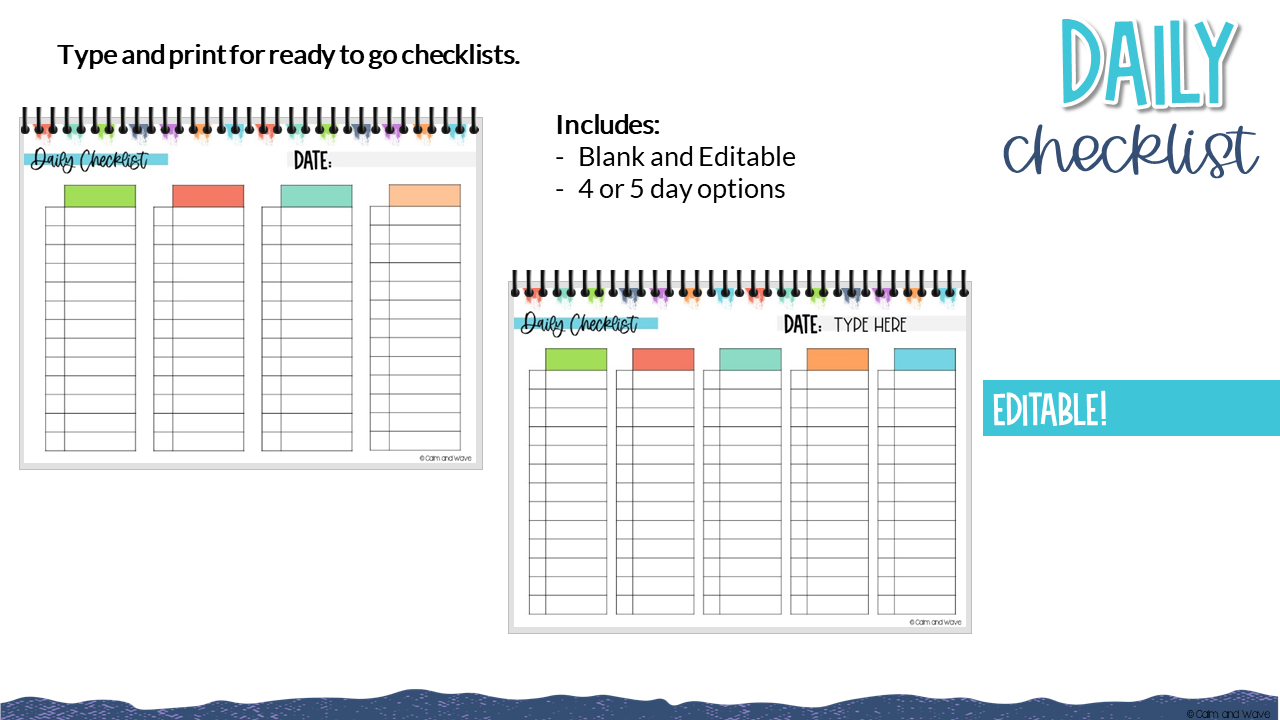
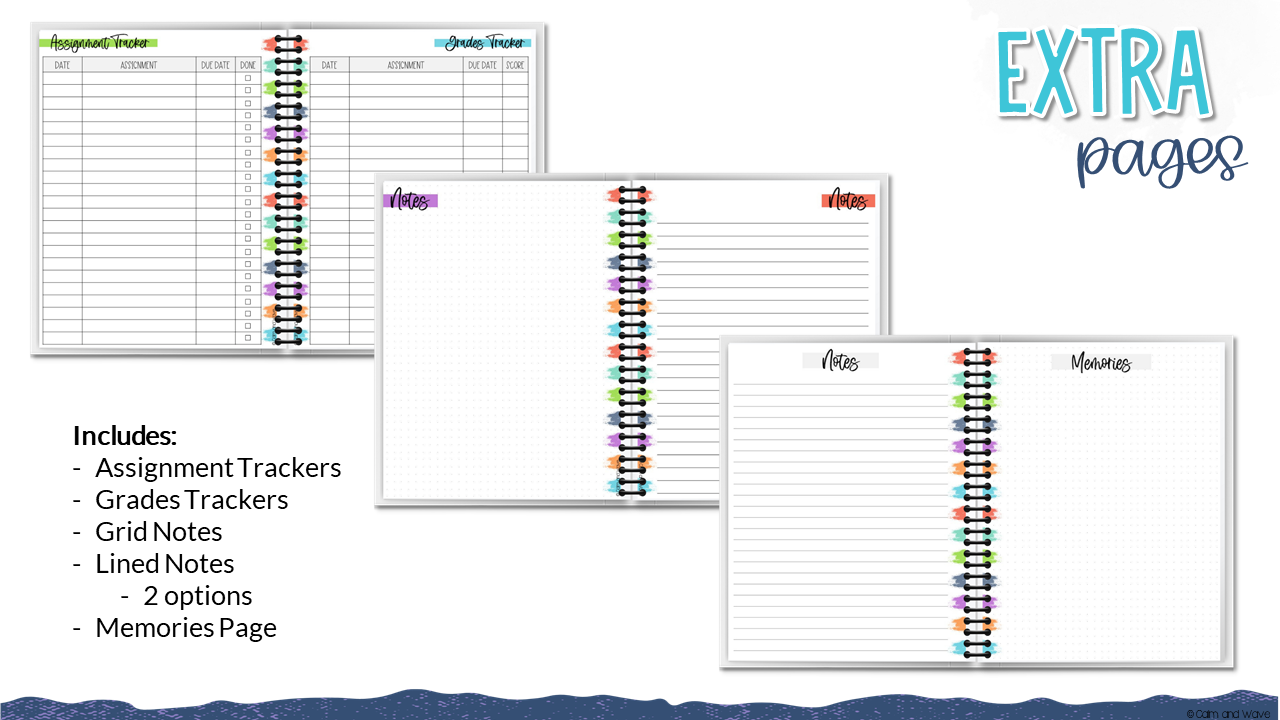
No planner is complete without a way to track your students' progress. This doesn't have to be complicated. Simple tools like checklists or charts can go a long way.
Here are a few ways to track progress effectively:
- Daily Checklists for assignments or completed activities.
- Weekly Reflections where you take notes on what worked, what didn't, and what to adjust.
- Milestone Tracking for larger goals like mastering multiplication tables or finishing a novel.
Seeing progress clearly laid out will motivate your students and give you peace of mind that you're on track.

Step 6: Build in Flexibility
Life happens, schedules shift, and some days are better than others. Build flexibility into your planner so you don't feel overwhelmed when things change.
Some tips:
- Use erasable pens or sticky notes in a paper planner to allow for adjustments.
- Plan for buffer days each month where you can catch up on missed topics or take things at a slower pace.
- Keep a list of “backup activities” like educational games, documentaries, or projects for days when you need a break.
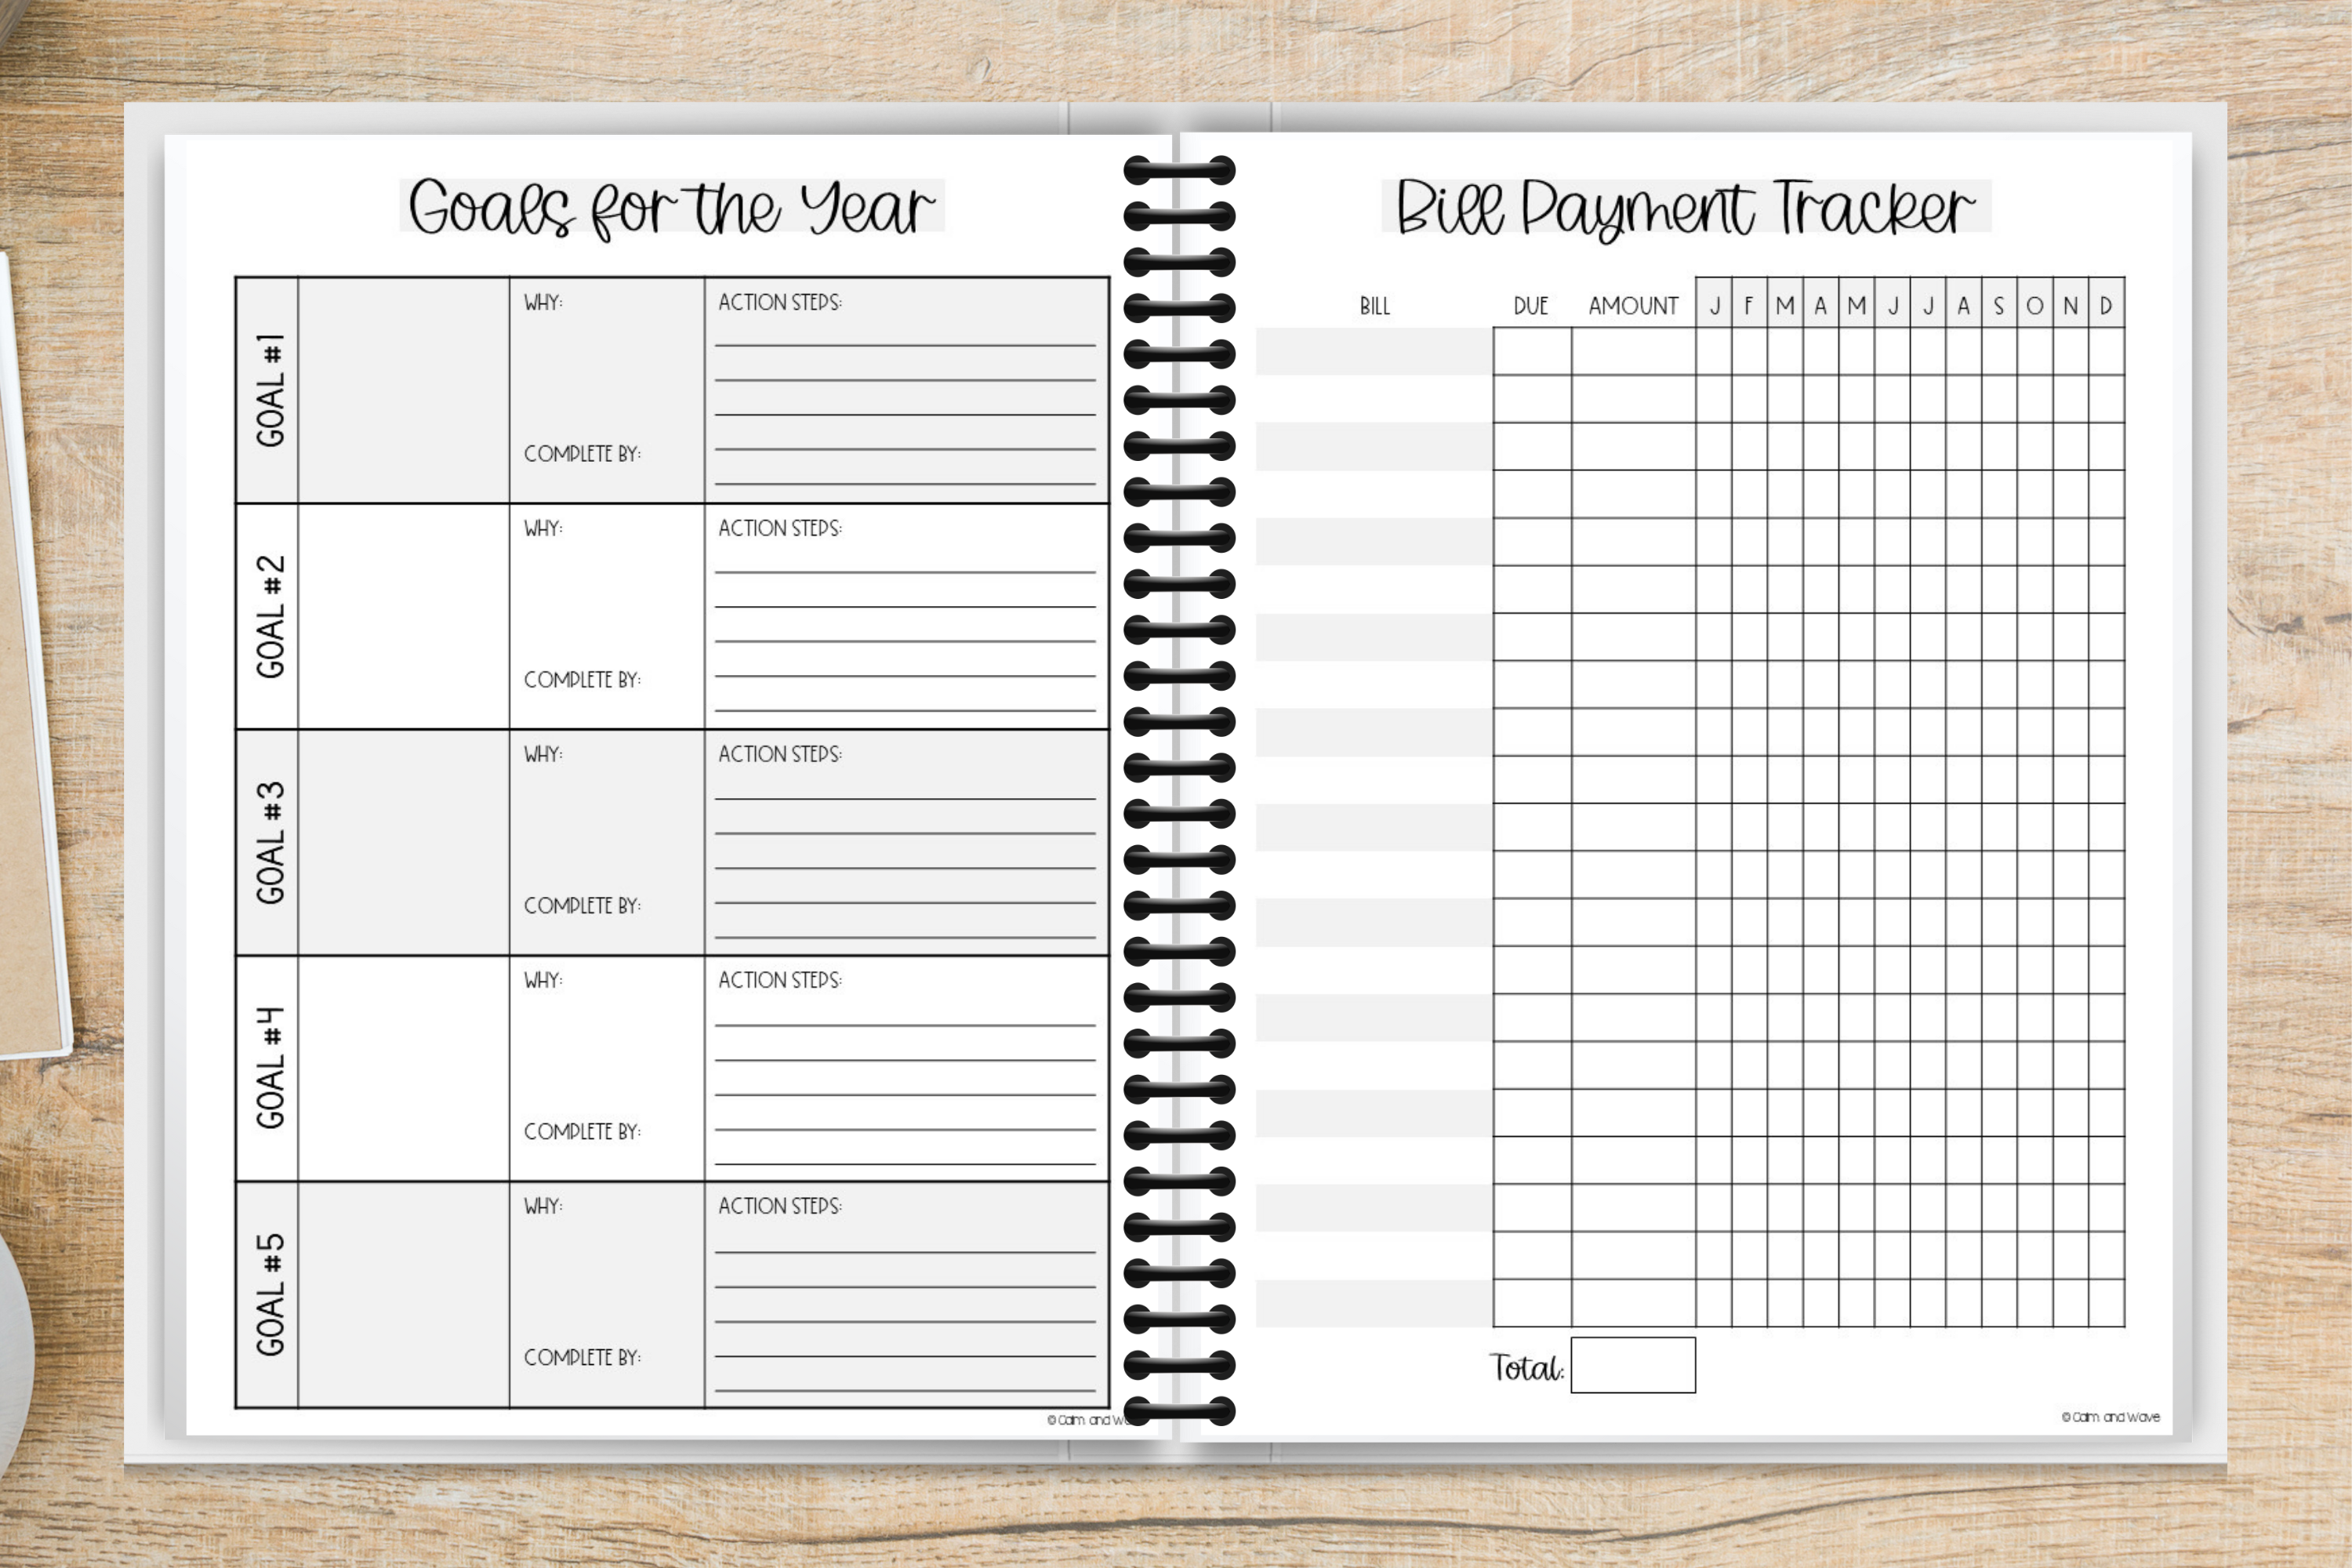
Step 7: Personalize Your Planner
This is your planner and should reflect your teaching style, personality, and family dynamics. Decorate it with inspiring quotes, stickers, or designs that make you smile.
Consider adding these extra features to make your planner even more helpful:
- To-do lists
- Budget Tracking
- Meal Planning
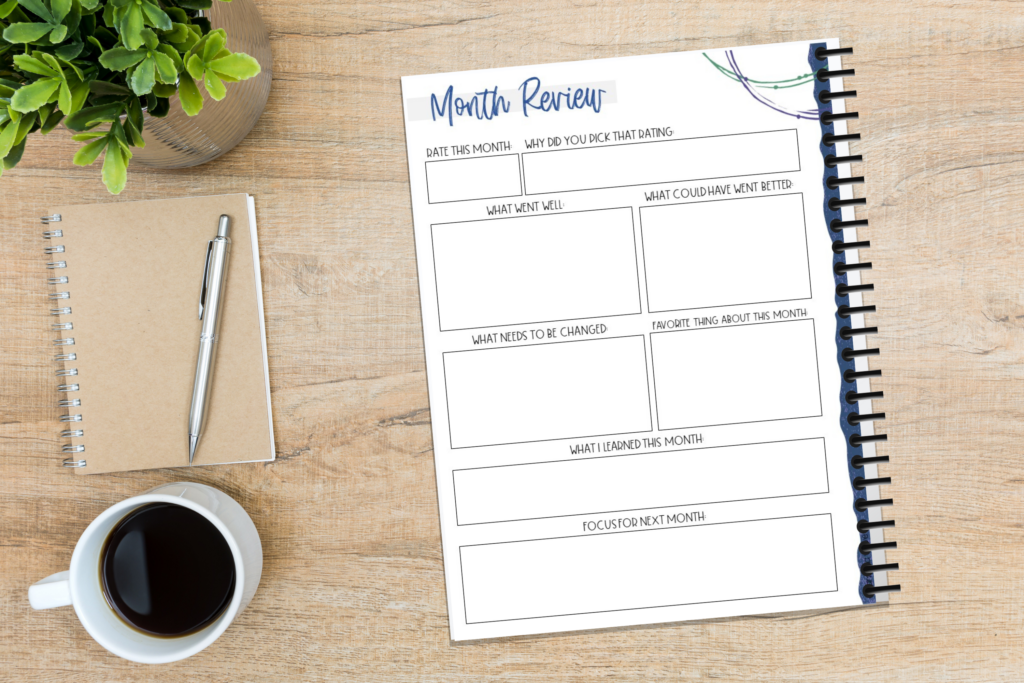
Step 8: Reflect and Tweak
Finally, remember that no planner is set in stone. Take time every week or month to check in with your system. Are your schedules realistic? Are you staying organized or need to switch to a different format? Don't be afraid to try something new if your current setup doesn't feel right.
Encouragement for the Journey
Creating a homeschool planner may feel like a lot of work upfront, but it's an investment in your success. You're not just creating lesson plans; you're making a system reflecting your goals, routines, and values. Be patient with yourself as you find what works. You're doing fantastic work as an educator. With some planning, you and your family can thrive on this homeschooling adventure!
